🕳️
The Cyber Security Library
  • The Library
  • Offensive Security
    • Solar, Exploiting log4j
      • Reconnaissance
      • Discovery
      • Proof of Concept
      • Exploitation
    • Basic Authentication Bypass
      • Username Enumeration
      • Brute Force
      • Logic Flaw
      • Cookie Tampering
    • Insekube
      • Recon with Nmap
      • Checking out the web address
      • Creating a Reverse shell
      • Inside the Kubernetes pod
      • CVE-2021-43798
    • Snort
      • What is Snort? (For the uninitiated)
      • Task exercise
      • Traffic Generator
      • Brief overview of IDS and IPS
      • Checking Snort
      • Snort Sniffer mode
      • Packet Logger mode
    • Runtime Detection Evasion
      • Learning Objectives of AMSI
      • Runtime detections
      • AMSI Overview
      • AMSI Instrumentation
      • Powershell Downgrade
      • Powershell Reflection
      • Patching AMSI
    • Red team recon using OSINT
      • Taxonomy of Reconnaissance
      • Built-in tools
      • Advanced Searching
      • Specialized Search Engines
  • Malware
    • Introduction to Malware Analysis
      • What are the different types of malware analysis
      • Doing different types of analysis
      • Anti analysis techniques
    • Ransomeware: Maze
    • Exploring Steganography
    • Simple Trojan with Python
      • The Python Trojan
      • Breaking down the python code
  • Vulnerability Management
    • Nessus
      • Introduction
      • Nessus Essentials
      • Scans
      • Authenticated Scans
      • Results
      • Running custom scans
  • Cloud
    • AWS
      • AWS CDK: Deploy and using amazon SQS Que from Repo
        • Node modules and Bootstrapping troubleshooting
        • Sending and Receiving information from the stack
        • Destroying the stack and cleaning up
      • Using Different AWS Services with Splunk
        • AWS Config
          • How Does Config work?
          • How to enable Config
          • Settings
          • Aggregation
          • Creating Config Resource
          • Creating Aggregator
          • Adding Rules
        • CloudTrail
          • What is CloudTrail?
          • Features of CloudTrail
          • Benefits of CloudTrail
          • CloudTrail Event History
          • Securing CloudTrail
        • EventBridge
          • Configuring EventBridge and Event Patterns
          • EventBridge Targets
        • CloudWatch
          • The CloudWatch Dashboard
            • Virtual Machine
          • CloudWatch Alarms and Metric Filters
            • Searching logs using metric filters
            • CloudWatch Alarms
          • CloudWatch CIS Alarms
            • SNS
        • Configuring VPC Flow Logs
          • An introduction to VPC flow logs
        • Automating Incident Response with EventBridge
          • Creating Lambda functions
        • CloudTrail SIEM Integration (Splunk)
          • AWS architecture for integrating with Splunk
      • AWS DevOps EBS Volumes
        • CloudWatch
        • EBS Volume
        • Lambda
      • EKS Creating a deployment with AWS in the command Line
        • Setting up AWS Cloud9
        • Creating a Cluster
        • Creating Deployment
      • How to CloudShell SSH in to ec2 Instances
    • Azure
      • Worker CTF (Azure DevOps)
        • Enumeration
        • Using SVN
        • Exploring the Domain
        • Cracking Azure DevOps console
      • Software development environments and Azure DevOps pipeline abuse
        • Accessing Azure Devops
        • Exploring Project Pages
  • Splunk
    • Splunk SIEM Integration
      • AWS architecture for integrating with Splunk
    • Splunk Threat Hunting Ep.6 Credential Access
  • DevOps
    • Using AWS, Docker, Jenkins and SonarQube to improve code quality
      • Updating the Cloud Instance and Getting Docker
      • Installing SonarQube
      • Creating Jenkins Server
      • Manaing SonarQube and Jenkins
    • Creating a Codebuild project and getting the output with CloudWatch Logs
      • IAM
      • CodeBuild
  • CTF's
    • THM Wonderland
      • Nmap and Gobuster
      • Entering Wonderland
      • Privilege Escalation
    • Healthcare OpenEMR system -THM Plotted EMR
      • Recon with Nmap
      • Exploring the ports found
      • Gobuster
      • Searchsploit Open emr
    • Steam Cloud CTF Exploiting Kubernetes
      • SteamCloud Privilege Escalation
    • THM Flatline CTF
      • Recon with Nmap
      • Searchsploit for freeswitch
      • Using the exploit
      • Escalating my privileges
      • Gaining access inside the Windows RDP
    • Biteme CTF
      • Recon
      • Looking into the PHP code and decoding hexadecimal
      • Python script and Bash script
      • Bruteforcing MFA Code
      • Trying to gain access via SSH
      • Inside SSH
      • Fail2ban Privilege Escalation
    • Devoops CTF
      • Enumeration
      • Exploiting Web Page
      • Creating Python exploit
    • GoBox CTF
      • Enumeration
      • Using Burpsuite and creating Reverse shell
    • Explore: Android Box
      • Enumeration
      • Initial foothold
      • Privilege escalation
Powered by GitBook
On this page
  • Scan results
  • Exporting results
  • Importing results
  1. Vulnerability Management
  2. Nessus

Results

PreviousAuthenticated ScansNextRunning custom scans

Last updated 1 year ago

If you're using Nessus for a vulnerability assessment, you're going to want to see the results of the scan! In this lab, explore the results generated by a Nessus scan, and identify key details of historical scans.

Scan results

When a host is scanned with Nessus, results are generated immediately and displayed in a Vulnerabilities table. As a scan is running, this table will be populated as soon as Nessus identifies something. Once the scan has been completed, the table will be full of potential vulnerabilities, ready for analysis.

Exporting results

In some situations, the person who analyzes the findings differs from the person who performed the assessment. Nessus facilitates the sharing of scan results by providing an easy method to export any scan results. These exports are saved as .nessus files and can be imported into any Nessus instance. This is also handy for archiving old scan results without deleting them entirely from Nessus.

To export a scan from Nessus, click on the Export button from the Scan Details page, and select Nessus.

Choose an appropriate name for your results from the dialog box and save the file. These .nessus files are just XML formatted files and can be opened in any text editor to view the contents. However, the best way to read any exported results is to import them into Nessus and use the web interface to read the file.
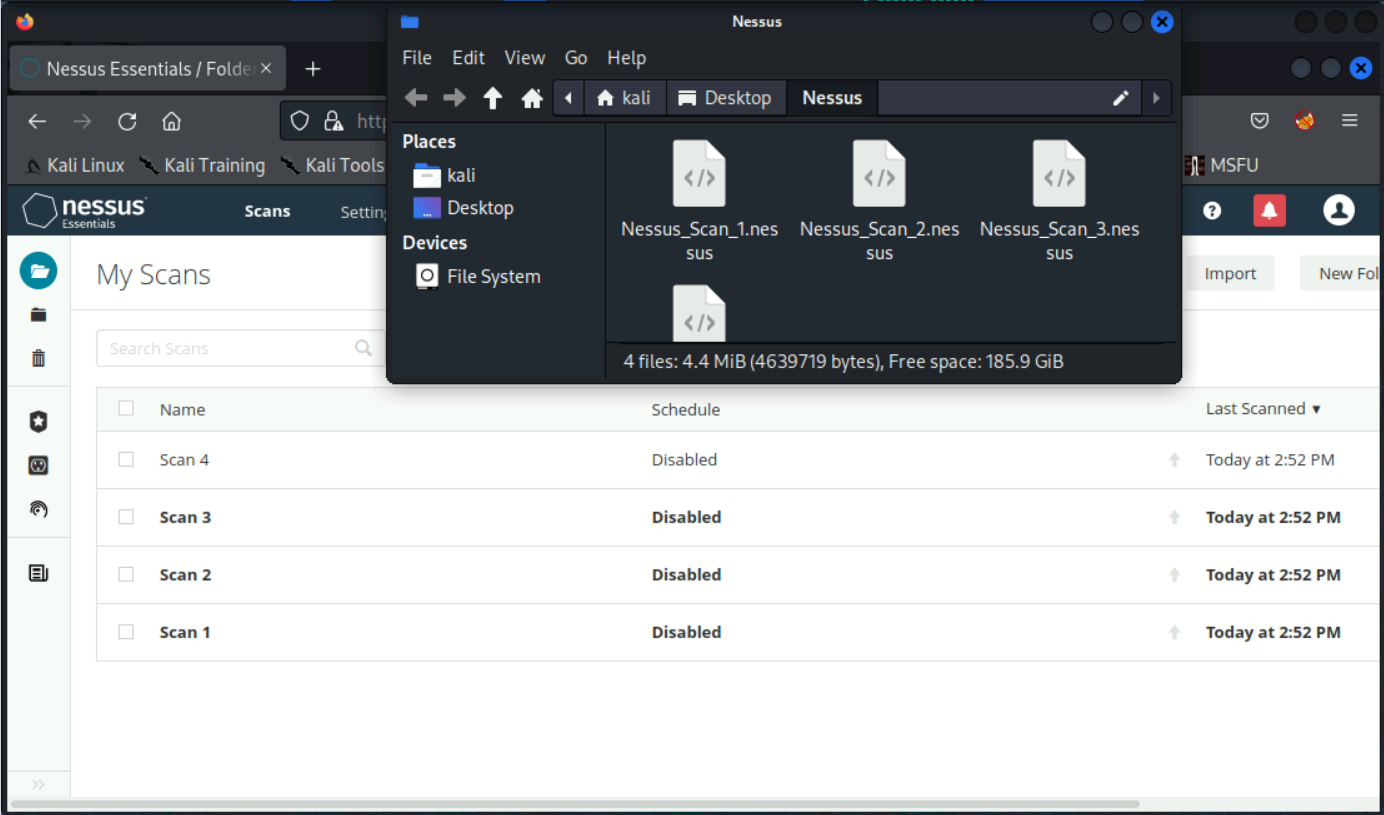
Importing results

To import a .nessus scan result, from the My Scans page, click the Import button

Vulnerabilities

The Vulnerabilities tab displays a list of all vulnerabilities identified by Nessus throughout the scan, stored in a single table. Each entry in this table is a Nessus "finding", with the name of the potential vulnerability, severity rank, and CVSS score.

Any entries marked with a folder icon are groups of similar vulnerabilities. For example, Nessus might group several similar Webmin vulnerabilities under Webmin (Multiple Issues) in the table. The number of vulnerabilities in this folder is recorded under the Count column. Click on any of the folders to be shown a list of the findings in that folder.

Nessus displays a severity for each vulnerability in the table, and, for higher-ranked vulnerabilities a severity score, both determined by the vulnerability's CVSS score. For example, the vulnerability TLS Version 1.1 Protocol Deprecated has a CVSS score of 6.5 and has therefore been ranked as MEDIUM.

Vulnerabilities ranked highly (such as CRITICAL or HIGH) should be prioritized when considering any remediation actions, but even MEDIUM or LOW-level vulnerabilities will need to be addressed. The decision to remediate or risk-accept these findings would depend on the needs of each organization. Still, if enough lower-risk vulnerabilities are risk-accepted, the aggregation of these vulnerabilities may eventually lead to conditions where system compromise is possible. Typically, any INFO-level vulnerabilities are just "informational" vulnerabilities, where Nessus simply provides information about something – not necessarily a vulnerability – and doesn't have a "risk score" associated with that finding.

In this table, Nessus will also detail the category in which the finding falls (known as the Family). Some of the more wide-ranging categories cover several different results (e.g., General), whereas other categories will focus on specific types of vulnerability (e.g., CGI Abuses). Click on any of the findings in the table to discover details about the specific vulnerability Nessus has identified.

Vulnerability details

On this page, Nessus will provide you with a description of the vulnerability to help you identify its specific location. For most findings, Nessus will attempt to give you a possible solution to remediate the vulnerability or share external resources to help you learn more about the vulnerability.

Important scans

Results for each important scan

Page cover image
Exporting a Nessus scan from the Scan Details page
Scan 1
Scan 2
Scan 3
Scan 4